Best Ways to Get Rid of Soap Scum Easily
Why does the bathroom still look a mess after scrubbing it? Ever grabbed the sponge to scrub your shower walls, only to look away disappointed at the sight of cloudy streaks that seemed worse than what you had in mind for fresh? Wouldn’t that be quite frustrating? Soap scum is the sneaky villain behind that dullish appearance–a chalky film that seems so ready to grab on to anything.
This one cannot be put off no matter what you try to do. The good thing is you don’t have to exert more effort in cleaning. Just clean smarter! So let’s go through the simple things you can do to get rid of soap scum using techniques and ingredients that do wonders and don’t cost a lot or pose greater wear and tear on your arms.
1. Getting to Know the Problem: What Is Soap Scum?
Soap scum is bigger than a mere nuisance, according to bond clean Brisbane it’s a combination of soap particles, body oils, and harder water minerals that stubbornly cling to your shower surfaces. A cloudy film is formed when these constituents unite, coating glass doors, tiles, faucets, and tubs. This gloomy oxidized film tarnishes everything in its way and resists casual wiping treatments or rinsing as days go by. Once you understand what soap scum really is, you can treat it accordingly. Professionals don’t waste time on sprays they know will never do a bit of good; instead, they go straight to the solutions, and many experts from bond cleaning in Perth also recommend them for long-lasting results.
2. Get the right materials just like the pros
Pros would never enter the battlefield without their tools, and you should never go in either. Luckily, you do not need any industrial equipment–the items available in your home will suffice. Get white vinegar, baking soda, a spray bottle, dishwashing liquid, a sponge which can be abrasive or microfiber cloth, warm water, and lastly, a squeegee. Cheap and very effective when used in concert, these items are your weaponry against soap scum.
3. Spray Vinegar
Kick off a professional treatment by exploding the hard-water deposits at their tracks. Fill a spray bottles half way with white vinegar and then fill it up with warm water until it is nearly-full. Shake and apply with great liberality to all over: to tiles, glass doors and around the bath or sink, wherever you find this white chalky build up. The solution should stay for over 15 minutes. This soaking will leave the acid in the vinegar inconvenience soap scum so it grows easier to simply wipe away after. The sooner you move to the scrubbing process, the harder will it become so better half the time has got to do it for you.
4. Baking Soda for an Extra-Deep Lift
Once the chance has been given to the vinegar to soak, it is time to add one more ingredient into the mix baking soda. Wetting the surfaces with vinegar, sprinkle the baking soda directly to the gunky parts. The grime will dissolve with a fizz as the vinegar and the baking soda react to each other. Rub the surfaces into the circular direction by using your sponge or cloth. The baking soda can be used like an abrasive and hence does not scratch; it is good therefore to loosen some tough dirt or even help remove water stains from leather. Once you scrub it all, rinse it well using warm water.
5. Provide More Muscle to the Mix (Optional)
If you’re dealing with tough, thick soap scum that’s been sitting around for quite a while, try adding dishwashing liquid to your vinegar spray. Only about one tablespoon is needed to do the trick. It will give extra cut to body oils and fatty residues left over by bar soaps. Give the bottle a good shake before applying as usual. Let it set for about 10 minutes before gently scrubbing. Acid, detergent, and agitation are an effective gang against the gnarliest grimy grime and leave the surfaces shining like new.
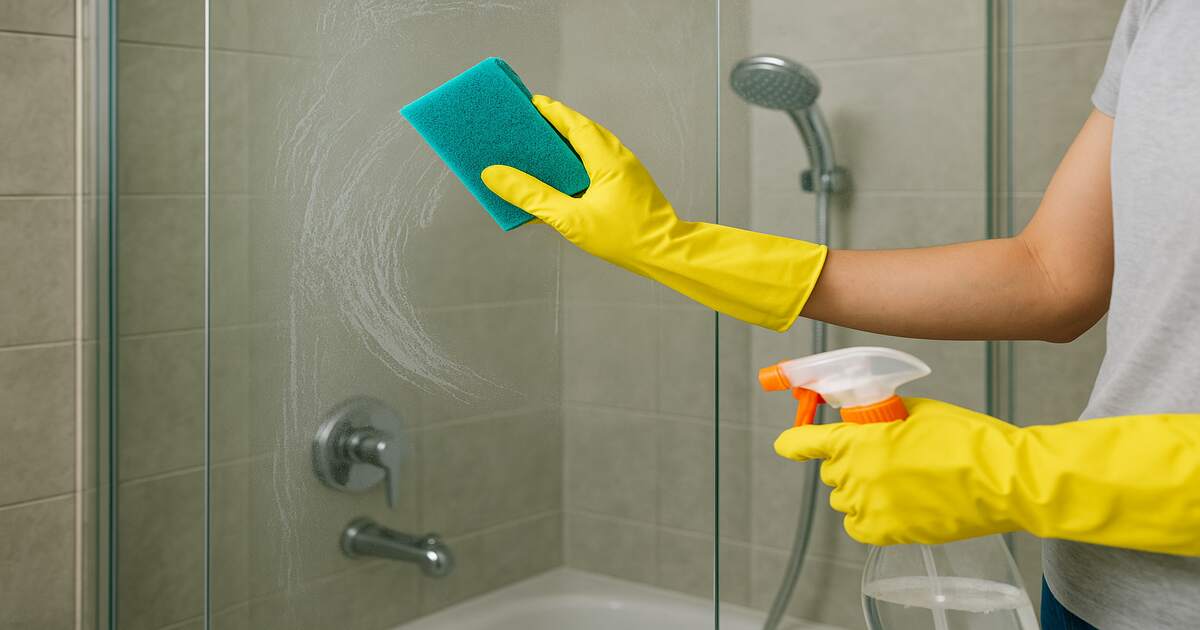
6. Rinse and Dry Like a Pro
When a person has scrubbed all the soap scum off then he should make sure to ensure he cleans the area completely. The vinegar residue, baking soda, or soap residue can streak and bring in even more dirt due to a small amount of it. Clean the space with a warm water dampened cloth. A new microfiber towel is used to dry every surface, as drying after cleaning prevents the water spots or the mineral deposits. When mirrors and glass doors are used, clean it dry again with a soft cloth to complete a streak-free, spotless effect.
7. The Secret Weapon Is the Maintenance
As responsible people will always say, the key secret to ensuring the toilet stays clean is not intensive cleaning but cleaning it with regular efforts. Then, one of the most excellent ways to practice as a constructive habit of keeping your bathroom clean is by picking up a squeegee each time you have finished using your shower and wiping shower doors and tiles clean. It requires approximately 30 seconds and it makes sure that water does not settle on surfaces to form soap scum. This easy step helps maintain the accumulation at a minimal level ensuring that your toil does not go to waste.
8. Stop Scum Before It Starts
Keep in mind that prevention is as important as cleaning. Bar soaps are one of the prime scum formers because they contain more fatty acids that react with minerals in water. Go liquid for your body wash as a way to keep residue to a minimum. Well-ventilated bath, of course. Leave the exhaust fan or keep the window cracked open when circumstances permit so that humidity can ventilate through the air. Dry air discourages soap and mineral deposits to adsorb in the surface thus facilitating the reformation of scum.
Conclusion
Soap scum can indeed be a tough nut to crack, however with the proper strategy, you can win that battle. It does not require big equipment, ugly chemicals and so on; it just demands suitable knowledge, courage, time and appropriate approach. This means that when you mix some hard-working natural ingredients and a few wise choices, your bathroom will remain clean not only, but also a sparkle one, for a rather long time. So-long, dull glass and film-covered tiles! With these steps, you will step into a shower that feels fresher than it looks-fresh, every single time.